
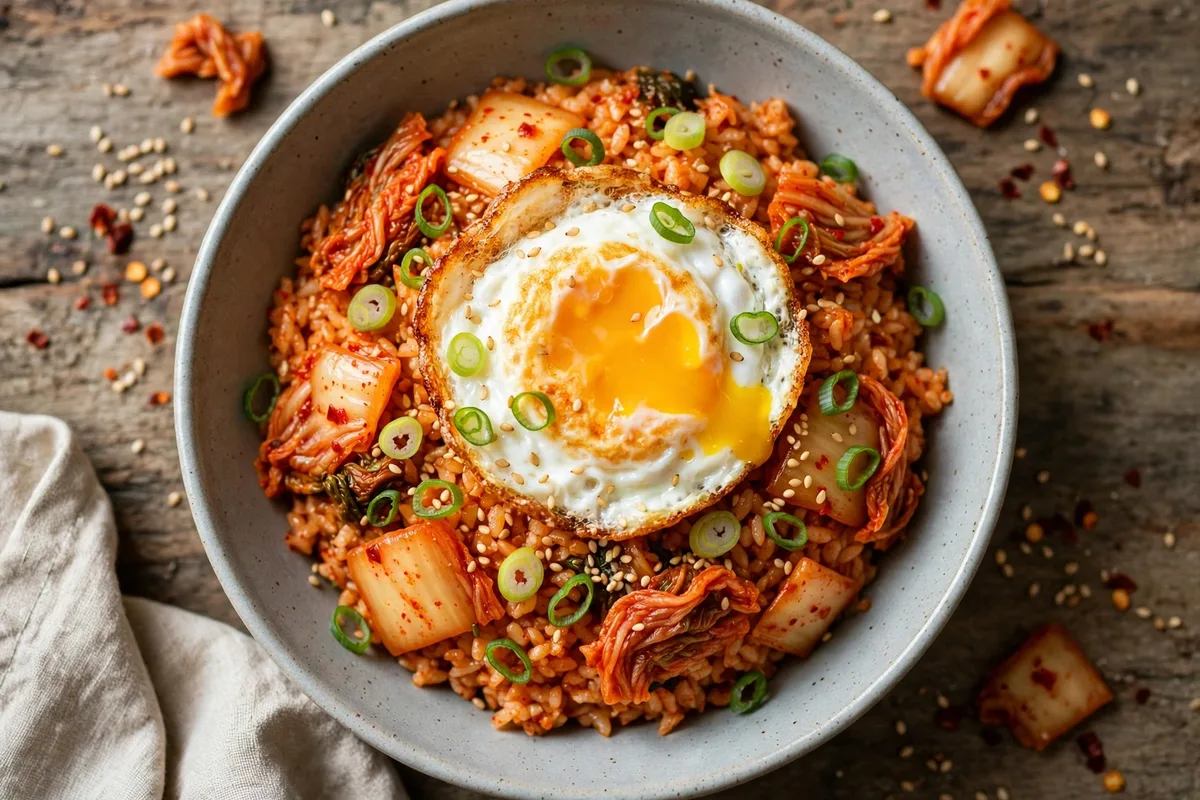
If you have a jar of kimchi in the refrigerator and some leftover rice, this easy kimchi fried rice recipe turns both into a fast, satisfying dinner. Chopped kimchi, its tangy juice, and a spoonful of gochujang give the rice a deep red color and a sour, savory, gently spicy flavor that needs very little else.
It is a practical weeknight main course: the chopping takes minutes, the rice fries in one pan, and a fried egg on top makes it feel complete. Use day-old rice, keep the pan hot, and let the rice crisp rather than stirring it constantly.
What is kimchi fried rice?
Kimchi fried rice, known in Korean as kimchi bokkeumbap, is a Korean dish of cooked rice stir-fried with chopped kimchi, kimchi juice, and seasonings such as soy sauce, sesame oil, and gochujang. The kimchi is the flavor base: as it fries, its sourness softens, its color deepens, and the rice takes on a rich, tangy taste quite different from plain fried rice.
It is usually served as a main course, often topped with a fried egg, and sometimes with diced meat, tofu, or extra vegetables. It is forgiving: the kimchi you have, the rice you have, and a hot pan are the essentials.
Kimchi fried rice is not Egg Fried Rice. Egg Fried Rice, already published on this site, is a Chinese-style dish built around egg and soy sauce, with a lighter, savory flavor. Kimchi fried rice is Korean, flavoured mainly by kimchi and gochujang, with the egg served on top rather than scrambled through the rice.
Why you’ll love this recipe
- Fast and one-pan. The rice fries in about 15 minutes, in a single skillet or wok.
- Clever use of leftovers. Day-old rice and leftover kimchi are the stars.
- Bold flavor from few ingredients. Kimchi, kimchi juice, gochujang, and sesame oil do most of the work.
- Easy to make your own. Add an egg, tofu, or diced meat, or keep it simple with rice, kimchi, and scallions (spring onions).
Ingredients you’ll need
Exact quantities are also given in the recipe card at the end of this article.
- Cooked rice: 4 cups (about 600 g) cooked rice, preferably day-old and chilled. Cold rice fries crisply; freshly cooked warm rice tends to turn soft and clumpy.
- Kimchi: 2 cups (about 300 g) kimchi, roughly chopped, plus 2 tablespoons (30 ml) kimchi juice from the jar. Older, more sour kimchi gives the strongest flavor.
- Gochujang: 1 tablespoon (about 20 g) gochujang (Korean chili paste), or to taste. It adds color, sweetness, and heat.
- Soy sauce: 1 tablespoon (15 ml). Taste before adding more, since kimchi is already salty.
- Sesame oil: 1 tablespoon (15 ml) toasted sesame oil, for finishing.
- Garlic and onion: 2 cloves garlic, finely minced, and 1 small onion, finely diced.
- Scallions: 3, thinly sliced, whites and greens kept separate.
- Oil for frying: 2 tablespoons (30 ml) neutral oil, such as vegetable or sunflower oil.
- Eggs: 4 large eggs, for frying and serving on top.
- Sesame seeds: 1 tablespoon toasted sesame seeds, to finish.
- Optional protein: 1 cup (about 150 g) diced cooked chicken, diced spam, or cubed firm tofu, if you like. Any meat topping must be cooked through before serving.
Substitutions in brief
- For a gluten-free version, use tamari or a certified gluten-free soy sauce, and check the gochujang label.
- If your kimchi is mild, add a little extra kimchi juice or gochujang.
- If you do not eat eggs, the rice is still complete on its own, topped with sesame seeds and scallions instead.
How to make kimchi fried rice
Step 1: Prepare the rice and kimchi
Break up any clumps in the chilled rice with your fingers or a fork, so the grains are mostly separate. Chop the kimchi roughly, keeping any juice, and measure out 2 tablespoons of kimchi juice. Have the soy sauce, gochujang, and sesame oil ready beside the pan, since frying moves quickly.
Step 2: Fry the aromatics and kimchi
Heat the neutral oil in a large skillet or wok over medium-high heat. Add the onion and the white parts of the scallions and fry for 2 minutes, until softened. Add the garlic and fry for 30 seconds more, until fragrant. Add the chopped kimchi and kimchi juice and fry for 3 minutes, stirring, until the kimchi softens and the pan smells tangy and savory.
Step 3: Add the rice and seasonings
Add the rice and press it down lightly with a spatula. Stir in the gochujang and soy sauce until the rice is evenly coloured. Let the rice fry undisturbed for 2 minutes, so some grains crisp, then stir and repeat once more. If using diced cooked chicken, spam, or tofu, add it now and stir until heated through and, for any meat, cooked through and steaming hot.
Step 4: Fry the eggs
While the rice finishes, or just before serving, heat a little oil in a second pan over medium heat. Fry the eggs one or two at a time until the whites are fully set. If you prefer a fully firm yolk, cook them a little longer. Keep the fried eggs warm while you finish the rice.
Step 5: Finish with sesame oil and scallions
Turn off the heat under the rice. Drizzle over the sesame oil, and scatter over the green parts of the scallions and the sesame seeds. Taste and adjust with a little more soy sauce or kimchi juice if needed, remembering that kimchi is already salty.
Step 6: Serve
Divide the kimchi rice between four bowls or plates and top each serving with a fried egg. Serve immediately, while the rice is hot and the egg is still warm.
Tips for the best kimchi fried rice
- Use cold, day-old rice. Freshly cooked rice holds too much moisture and turns mushy. If you only have fresh rice, spread it on a tray and cool it completely first.
- Keep the pan hot but not crowded. A large pan gives crisp grains; a small, crowded pan steams the rice.
- Let the rice sit between stirs. Constant stirring stops the crisping. Press it down, leave it for a couple of minutes, stir, and repeat.
- Taste before adding salt. Kimchi, kimchi juice, soy sauce, and gochujang are all salty or seasoned. Add the soy sauce gradually and taste as you go.
- Use older kimchi if you have it. Kimchi that has been open for a while is sourer and has a deeper flavor than very fresh, mild kimchi.
Substitutions and variations
- Gluten-free: Use tamari or a certified gluten-free soy sauce, and check the gochujang and kimchi labels.
- Milder: Leave out the gochujang, or use just 1 teaspoon, and rely on the kimchi and juice.
- Spicier: Add an extra teaspoon or two of gochujang, or a pinch of chili flakes. Taste before adding more.
- Vegetarian: Leave out the meat topping and use cubed firm tofu, or simply serve the rice with the fried egg.
- Vegan: Leave out the egg topping and use tofu instead. Check that the kimchi is vegan, as some contain fish sauce or shrimp paste.
- Extra vegetables: Add diced carrot, peas, sweetcorn, or mushrooms with the onion, keeping the total modest so the rice still fries.
What to serve with kimchi fried rice
Kimchi fried rice is a complete main course on its own, especially with a fried egg on top. For a fuller meal, add a simple cucumber salad or extra kimchi on the side: the freshness and crunch go well against the rich, tangy rice.
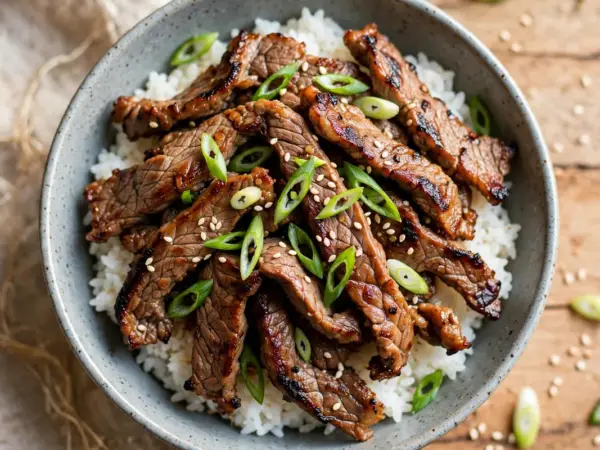
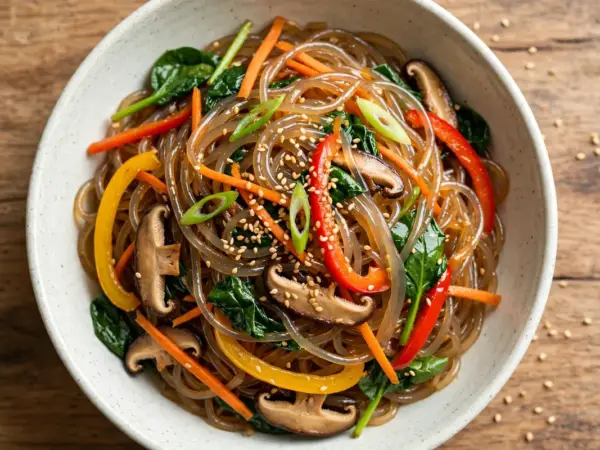
Egg Fried Rice makes a useful milder fried-rice option for another night, while Japchae offers a lighter, noodle-based Korean contrast. For a heartier Korean meal, Korean Beef Bulgogi pairs well as a second main course to share.
Storage, freezing, and reheating
- Refrigerate: Cool leftovers quickly and refrigerate promptly in an airtight container. Do not leave cooked rice at room temperature for long periods. Eat refrigerated leftovers within 1 to 2 days.
- Freeze: Cooked kimchi fried rice can be frozen, without the fried egg topping, for up to 1 month. Thaw overnight in the refrigerator. Freshly fried eggs taste much better.
- Reheat: Reheat only once, in a skillet over medium heat with a splash of water if needed, until steaming hot throughout. Do not reheat rice more than once, and do not leave it at room temperature for long periods after reheating.
Final thoughts
Kimchi fried rice earns its place as a weeknight favorite because it is fast, forgiving, and built from things often already in the refrigerator: cold rice, sour kimchi, a hot pan, and a fried egg.
If you make it, leave a rating and tell us how you served it — with just an egg, with tofu, or alongside Korean Beef Bulgogi. And if you enjoy this bold, pan-fried flavor, try Japchae next for a lighter, noodle-based contrast.

Leave a review